Re-waterproofing of old ageing rooftops and Roof Repair Works to Central Market’s R.C. Flat Roof
Long-term effects of rain and water prove inevitable for the rooftop of Central Market KL. The current state of the Central Market’s rooftop however; has been fully restored using Chemind’s internationally recognised re-waterproofing materials.
Waterproofing Treatment to Expansion Joints with FLEXJOINT EP
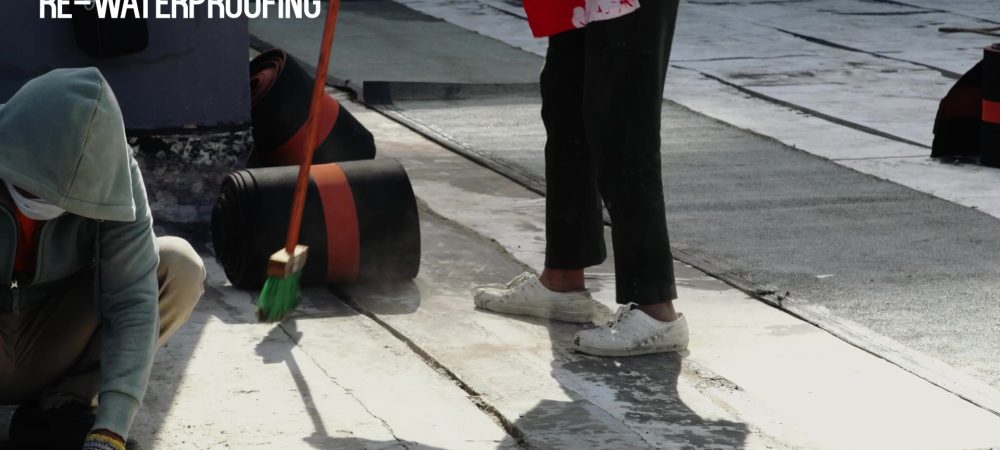
STEP 1
Cleaning of substrate to be free from dust, oil and other foreign materials.
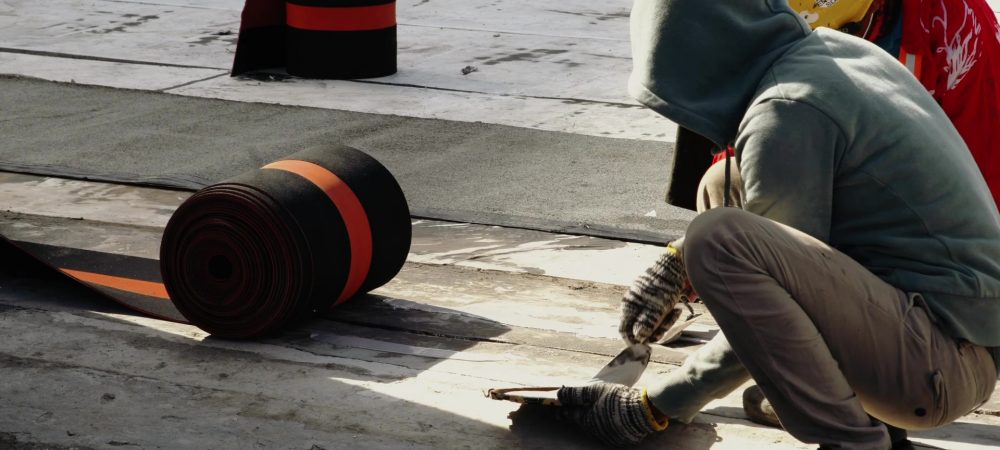
STEP 2
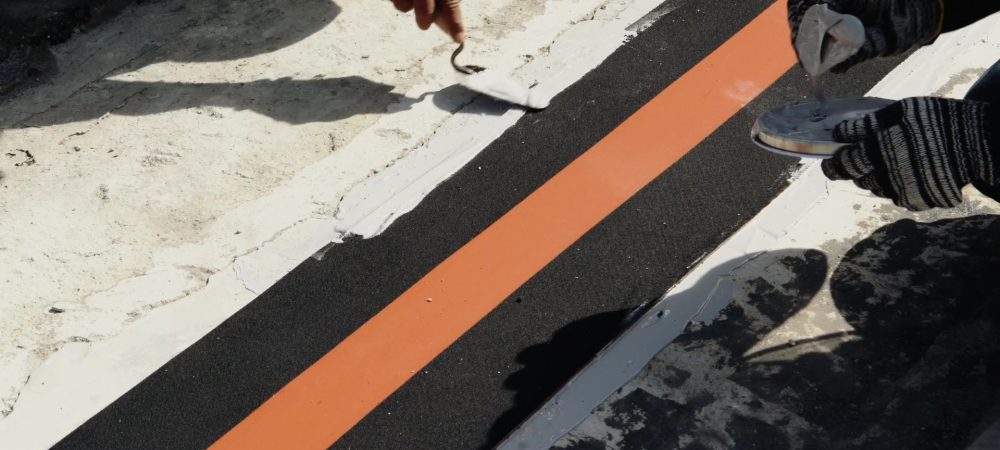
Apply CMFIX 100, epoxy putty adhesive system onto concrete substrate to hold FLEXJOINT EP in place.
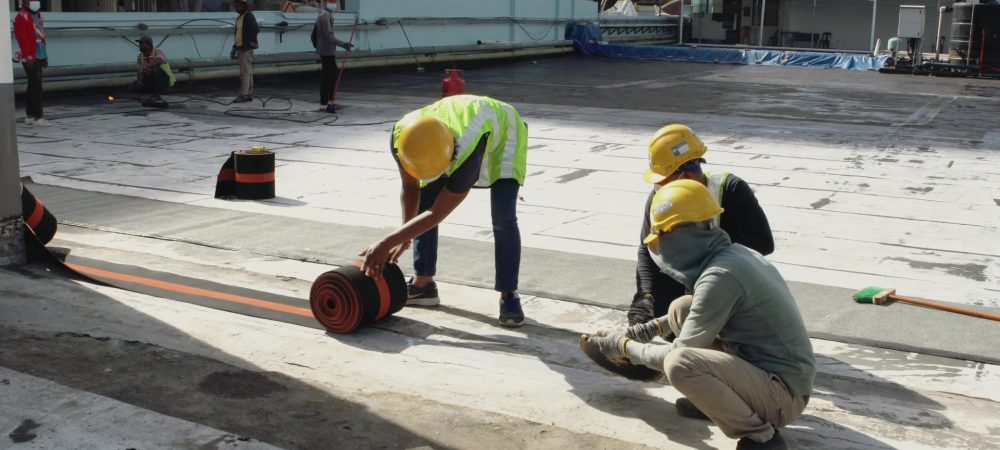
STEP 3
Lay the FLEXJOINT EP, Expansion Joint Waterproofing System over the expansion joints (Red part to be directly above the expansion joint’s gap).
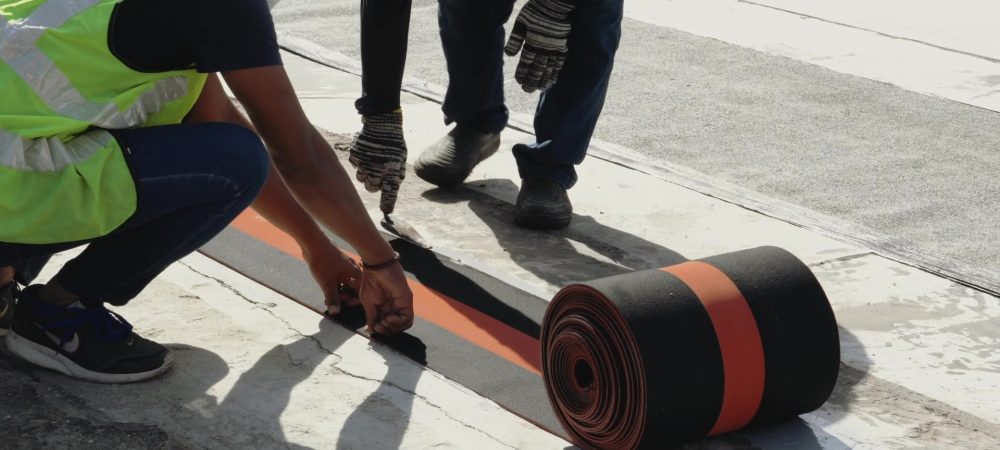
STEP 4
Press the FLEXJOINT EP strip in to the CMFIX 100 by hand or a hard roller for proper positioning.
STEP 5
Apply CMFIX 100 epoxy putty adhesive again over the edges of FLEXJOINT EP, to hold the strips in place.
Re-waterproofing Works using MM 6125 Waterproofing System

STEP 1
Application or Surface Bituminous-based Conditioner
STEP 2
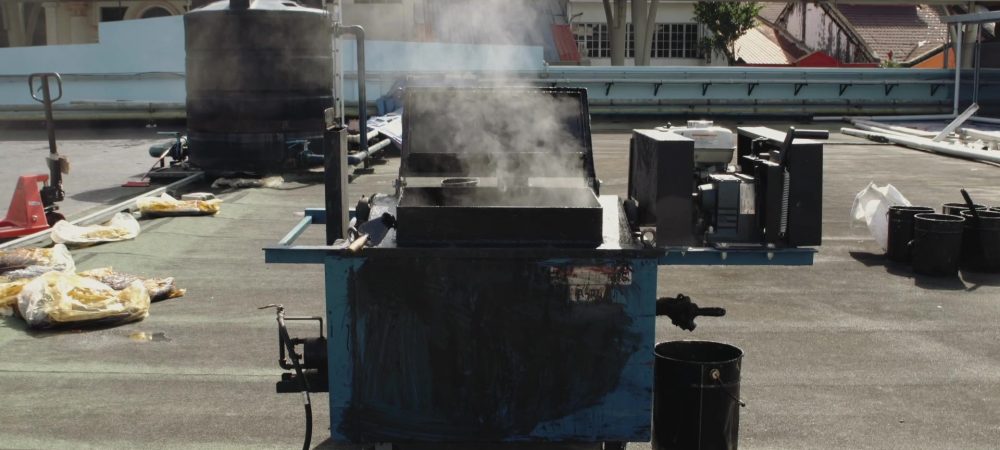
MM 6125 cakes are placed into a double-jacketed oil bath, air jacketed melter to be cooked for about 10-15 minutes until it melts. Smelter should be operated at a temperature of about 180 •C to 190 •C to melt the MM 6125

STEP 3
Pour over the heated MM 6125 waterproofing system onto the substrate and apply using a rubber blades squeegee.

STEP 4
The first coat of MM 6125 should be applied to a minimum thickness of 2.0 mm (refer to Method Statement for full Application Details).
STEP 5
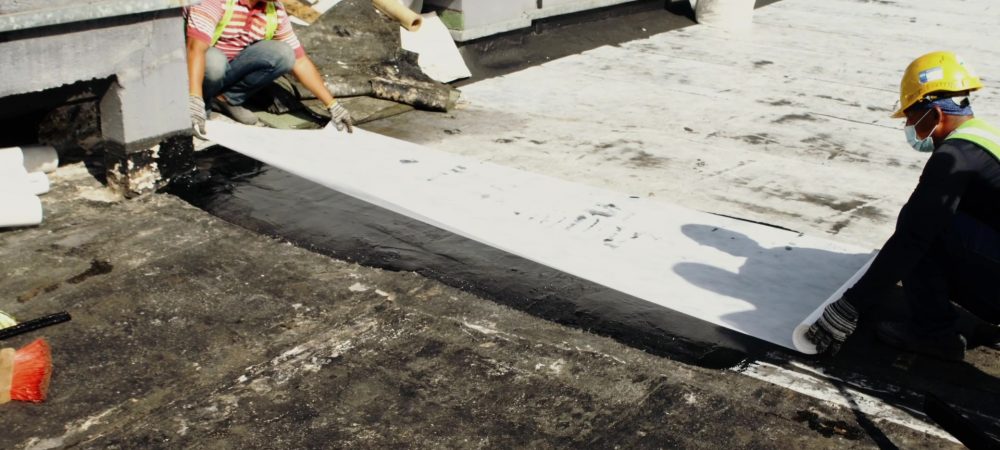
Install a layer of Pre-cut FLEX FLASH F, Reinforcement Fabric over the first coat of MM 6125 while it is still warm and tacky.
STEP 6
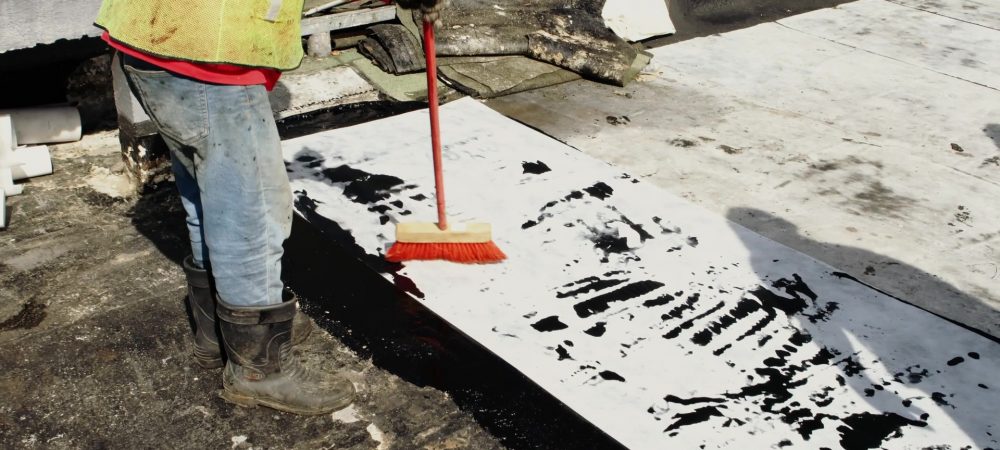
Immediately broom the rolled FLEX FLASH F fabric into the membrane to help eliminate wrinkles or air pockets in the fabric.
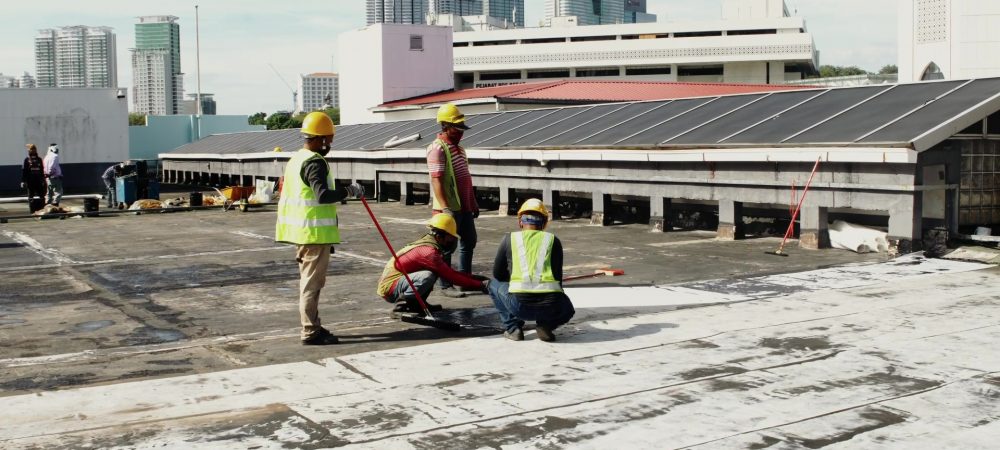
STEP 7
Overlaps of 50 mm to 75 mm is required between sheets for both horizontal and vertical applications.
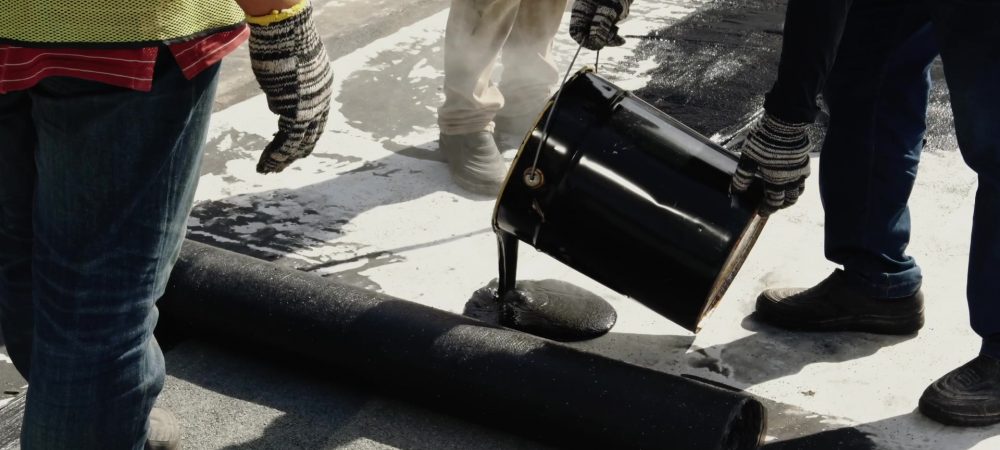
STEP 8
Pour over and apply second layer of MM 6125 once layer one and fabric are installed.
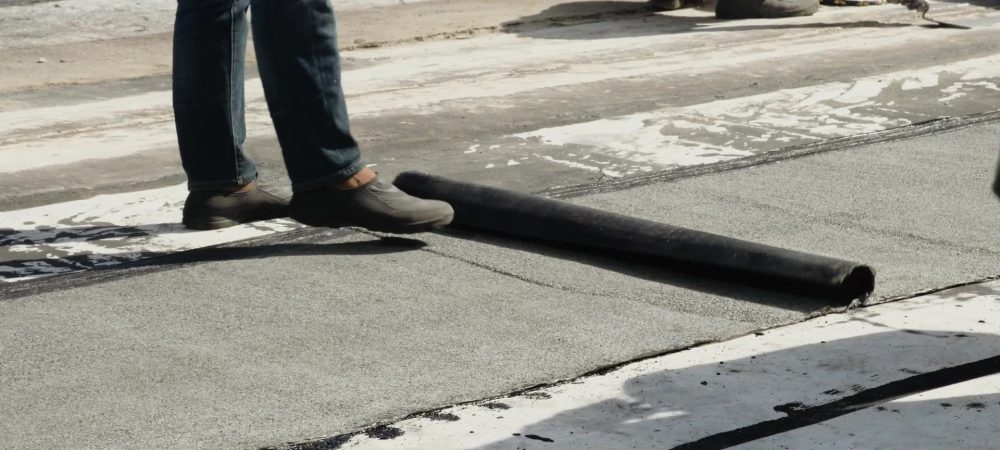
STEP 9
Install one layer of SEALOPOL 3P over the second warm and tacky layer of MM 6125. SEALOPOL 3P serves as a protective layer of the MM 6125 waterproofing layers.

STEP 10
Torch-apply the horizontal and vertical edges of the SEALOPOL 3P membranes to ensure it is fully adhered with the MM 6125 system.

STEP 11
Overlap adjoining edges a minimum of 50 – 75 mm to ensure complete coverage of the membrane.
